|
Today I’d like to introduce the bosses from Adventure Mode: The Subspace Emissary—and along the way I’ll drop a couple basic hints about how to beat them.
If you’re looking for a more in-depth set of hints, feel free to pick up a strategy guide...
|
 |
|
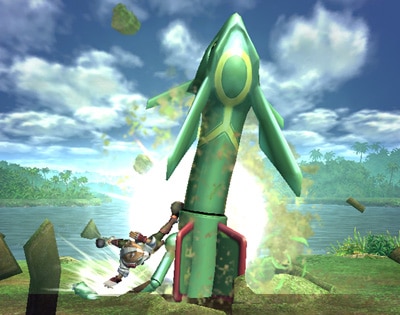
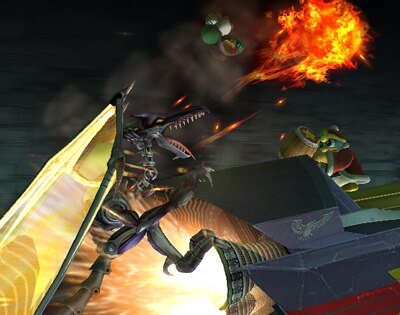
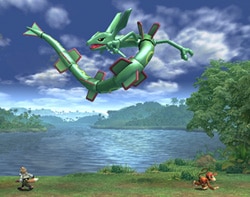
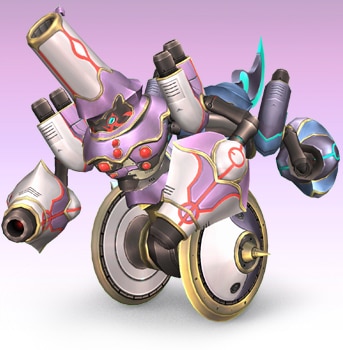
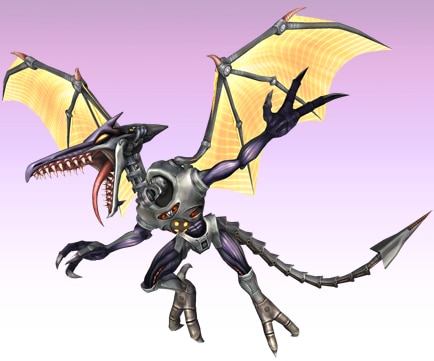
With Rayquaza—and really, with all the bosses—you have to recognize when to attack and when to flee, so try to find a rhythm for doing both.
When you’ve got an opening to attack, go for it. At all other times, you need to keep yourself in a position where you can dodge at the drop of a hat.
If you rely on midair attacks, at the very least you won’t have to worry about getting knocked off your feet by Rayquaza’s Iron Tail or getting hit by its charge. So I guess it’s to your advantage to keep airborne.
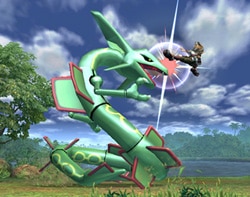
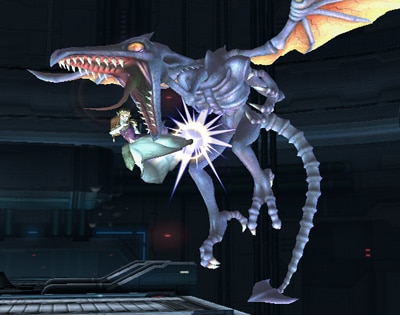
Jump in for a quick attack and take a peek at Rayquaza up close.
You can use a reflector or similar special move to bounce Rayquaza’s energy balls back at it. This tip is also hinted at in the movie that precedes the fight.
When Rayquaza leaps outside the frame of the stage, make sure you note how it made its exit.
When it rises straight up and away into the air, you can expect it to strike from the side soon thereafter, so get ready to dodge vertically.
If Rayquaza instead coils itself up in midair and flies off or plunges into the ground below, prepare to dodge an incoming vertical attack.
If Rayquaza takes this pose, it’s about to launch a vertical strike. Just keep moving to the left or the right and you’ll be fine.

When Rayquaza pops out of the ground, put a hurting on it with a smash attack!
|
 |
|
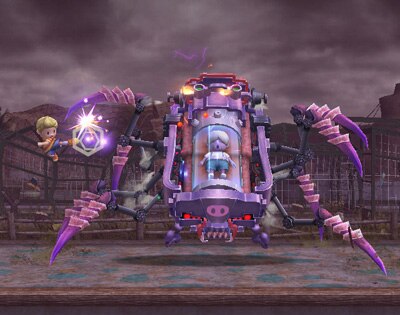
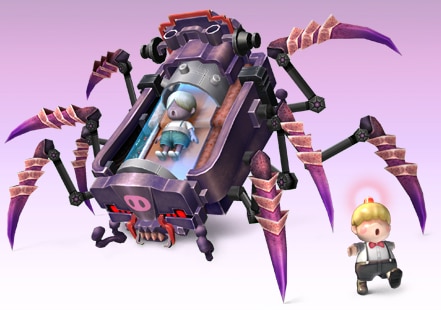
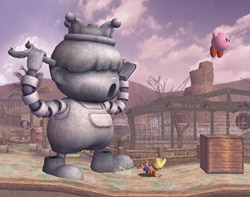
Porky’s speedy little machine legs can be a real handful to deal with. When you make contact with these legs, you’ll often take a small amount of damage.
If you absolutely don’t want to take any damage, you’ll have to resort to long-range weapons or deftly jump in and out with midair attacks.
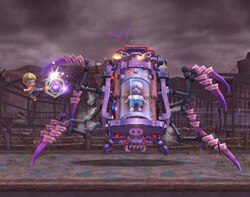
Make sure you can back away from Porky at a moment’s notice.
Sometimes Porky will perform a multiple hit attack with his legs (or are they tentacles?) and when he does, you’d better distance yourself from him on the double. Porky’s attacks can take longer than you’d think to register a hit, so even if you think you’re done for, you should make an effort to escape.

Smaller characters can sometimes dodge this attack by ducking.
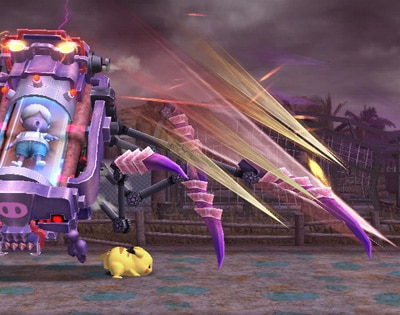
When Porky fires his guided laser, back off as far as you can and use your midair dodges to escape the incoming blasts.
Occasionally the Porky robots he launches take a tumble and explode, so run off to the side when you see them.

It’s OK to make contact with the robots. Just watch out for those explosions.
When Porky dashes at you, take to the air, and when he lets off a barrage of electric jolts from the sky, move left and right to dodge. Keep dodging regularly throughout the fight to stay safe.
|
|
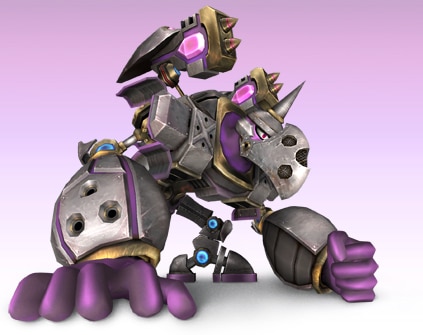
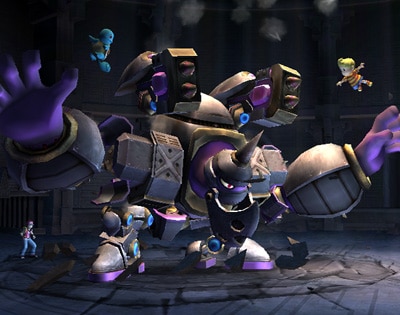
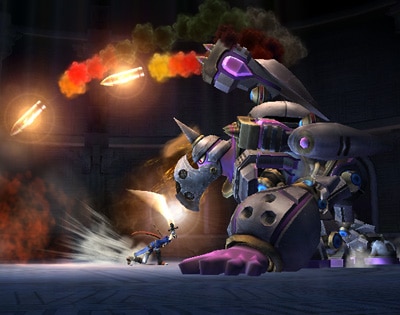
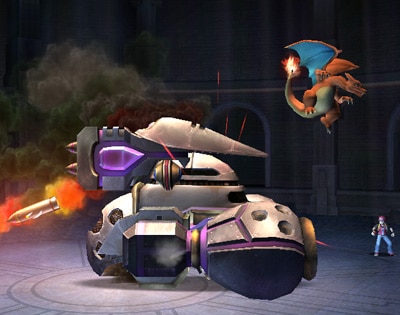
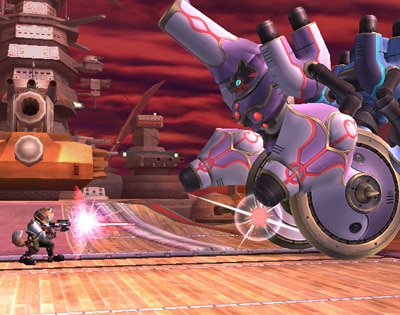
Galleom is a boss who’s just raring for a fight. You fight this iron giant two times during the adventure but the same strategy applies to both fights.
On the whole, Galleom doesn’t have too many anti-air attacks, so staying high in the sky is a good way to avoid the brunt of its assault. Stay up by climbing with multiple jumps, using recovery moves, and employing air dodges.

Use multiple jumps in conjunction with air dodges.

When Galleom fires off a volley of missiles, stay on the ground. Attack and attack again.
It’s easiest to dodge Galleom’s high jumps and falling attack with an air dodge.
If Galleom transforms into its tank form, it’s usually best to take a big jump over and behind the machine, though this varies from character to character.
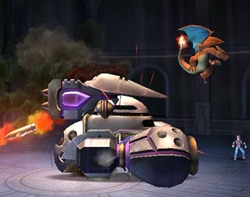
Here you’re safe from missiles and charge attacks.
|
 |
|
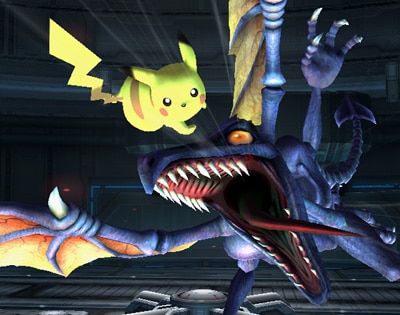
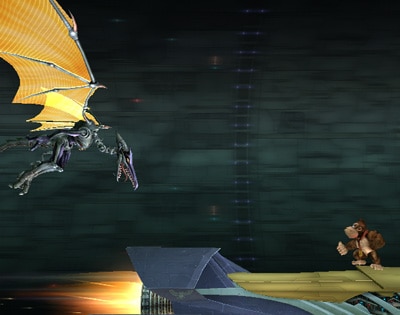
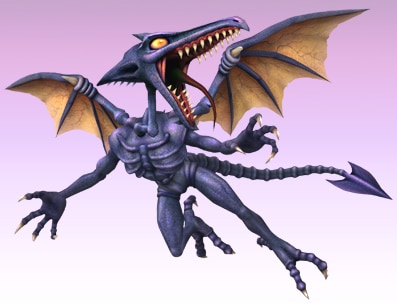
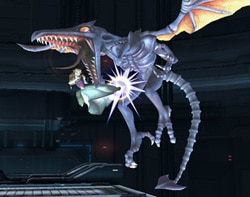
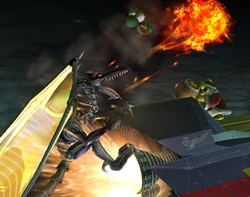
Since Ridley is in the air most of the time, you’re going to have to go up there and attack if you want to win the fight. Winning this battle therefore means using effective midair strikes. If your character has them, I’d advise focusing on using attacks that score multiple hits.
I don’t recommend attacks that cause an impact stall, even if they pack a punch.
If you think "here comes an attack," put some distance between yourself and Ridley and watch its movements. Studying Ridley’s moves will really pay off.
If Ridley flies upward, dodge sideways to avoid the descending attack that follows soon after.
If Ridley flies off the side of the screen, leap high into the air or crouch down to dodge Ridley’s sideswipe.
When Ridley uses its tail attack or changes sides on the screen, jump to avoid getting hit.
Aim to incorporate dodges into your evasive maneuvers as this will lessen the likelihood of you getting hit during all that running and jumping.

When Ridley rushes in from the background, jump and perform a midair dodge.
For times when you are far removed from Ridley, especially if you’re playing on a high difficulty setting or using a character with poor mobility, it’s OK to stay stationary. If you keep your head and wait, I bet Ridley will eventually bring the fight to you.
Stay cool. Just stay cool.
|
 |
|
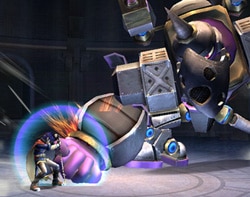
This fearsome foe’s constructed of two sides—a gun side and a sword side. Looks as though you’ve got your work cut out for you with this boss.
When possible, try to keep some distance between you and the boss.
Even so, man, Duon is one tough customer...
Your primary strategy for staying alive is to dodge and dodge again. Nimble dodging skills will be particularly necessary for getting by the sword side’s devastating close-range attacks.
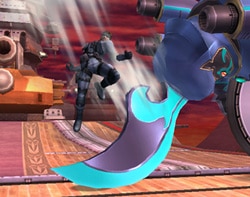
Stay light and nimble. If Duon connects, you’ll be in a world of hurt.
I guess, as a general rule of thumb, you should attempt to take on Duon from close range when fighting the sword side, and back away a fair bit when Duon switches to duel you with its gun side.
Also, Duon’s guided missiles can deal damage if you can get them to crash into Duon. The effect of these missiles is especially strong in the harder difficulty levels, so try giving Duon a taste of its own medicine.
If the above tactic sounds like too much work, you can always take advantage of the momentary invincibility you receive when climbing up ledges to dodge the missiles.
|
 |
|
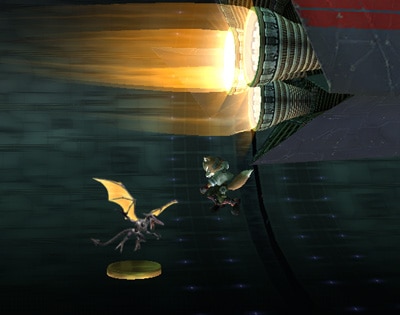
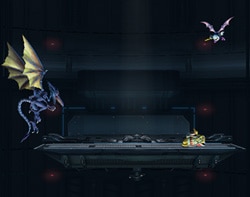
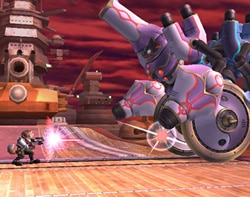
This fight to the death takes place on the back of the Falcon Flyer. The duel has a time limit of two minutes.
As Meta Ridley’s health depletes, it will gradually shift its position toward the edge of the screen. How crafty.

It’s hard to land a hit on Meta Ridley here!
Meta Ridley also has an attack where it pushes down on the Falcon Flyer. If you just stay standing on top of the deck when this happens, you may end up losing a stock for going off the screen, so use a jump to stay aloft when you see the ship start to descend.
Give Meta Ridley a quick whack when it’s here to shake it off the ship.
As for Ridley’s other attacks, like the one where it scrapes its talons across the ground, the best advice I can give is to stay in the air, as it’s easier to avoid most of the attacks this way. Don’t forget to mix in a couple air dodges.
If you’re aiming to capture Meta Ridley with a Trophy Stand, I think it’s easiest to transform Meta Ridley when it stops attacking for a moment. You can do this anywhere on the stage as your ultimate goal is to snatch the newly made Trophy right out of the air as it floats down.

Just make sure that you use a character who falls quickly when going for the trophy.
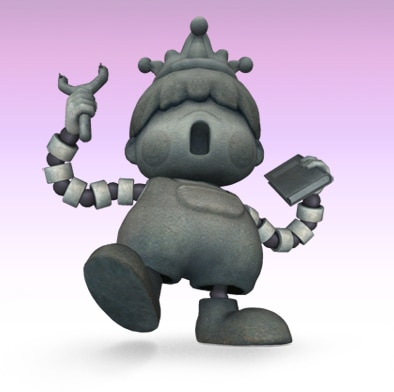
Finally, if you want to be really exact about it, this guy isn’t technically a boss, buuut...
|
|
You can’t beat him. You really have no hope of doing so, so run.
In his original game, The Pig King Statue had 100,000,000 hit points.
So seriously now, you can’t beat this guy.
...So, are we all clear on that point now?
This whole entry is littered with the word "dodge", isn’t it? This technique is essential if you’re going to take on the bosses of adventure mode. I thought it’d be a good idea to get you in the habit of moving your finger toward that shield button when you see an attack about to connect.
Be it in the air or on the ground, if you don’t get hit you can’t get knocked out. I suppose more so than attacks, it’s all about dodging and dodging again!
Ike’s counter and Pit’s Mirror Shield are pretty strong weapons too!
|
|